|
Back to Blog
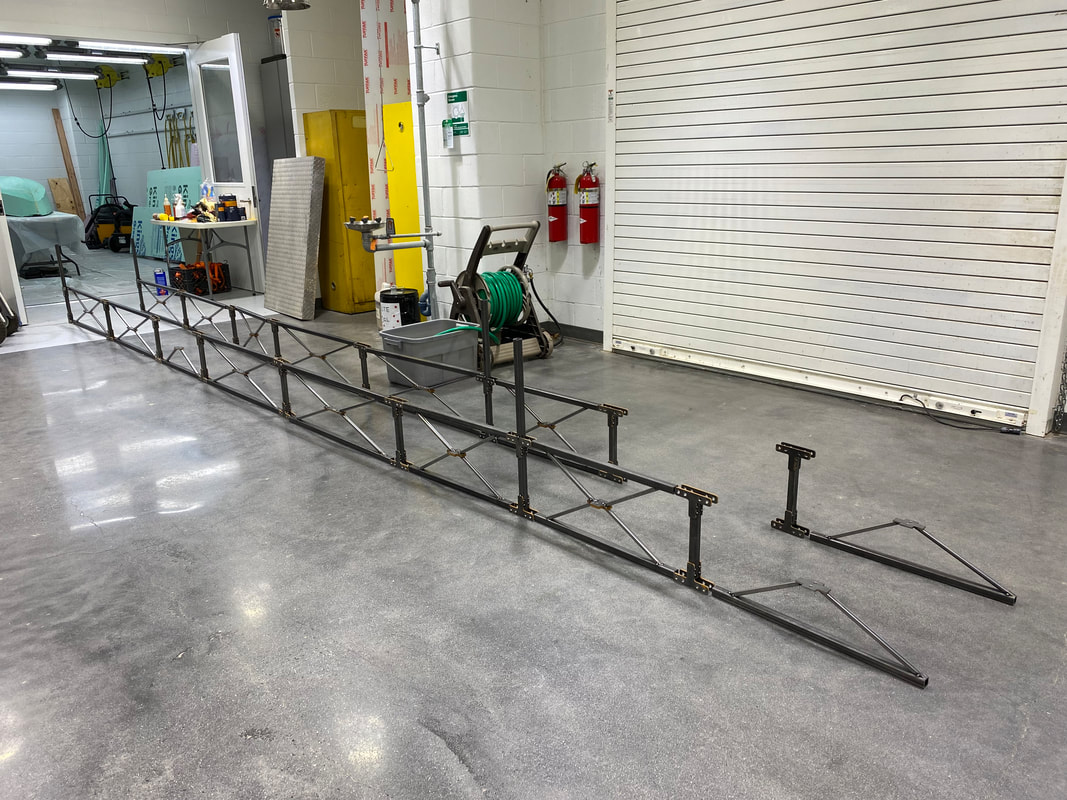
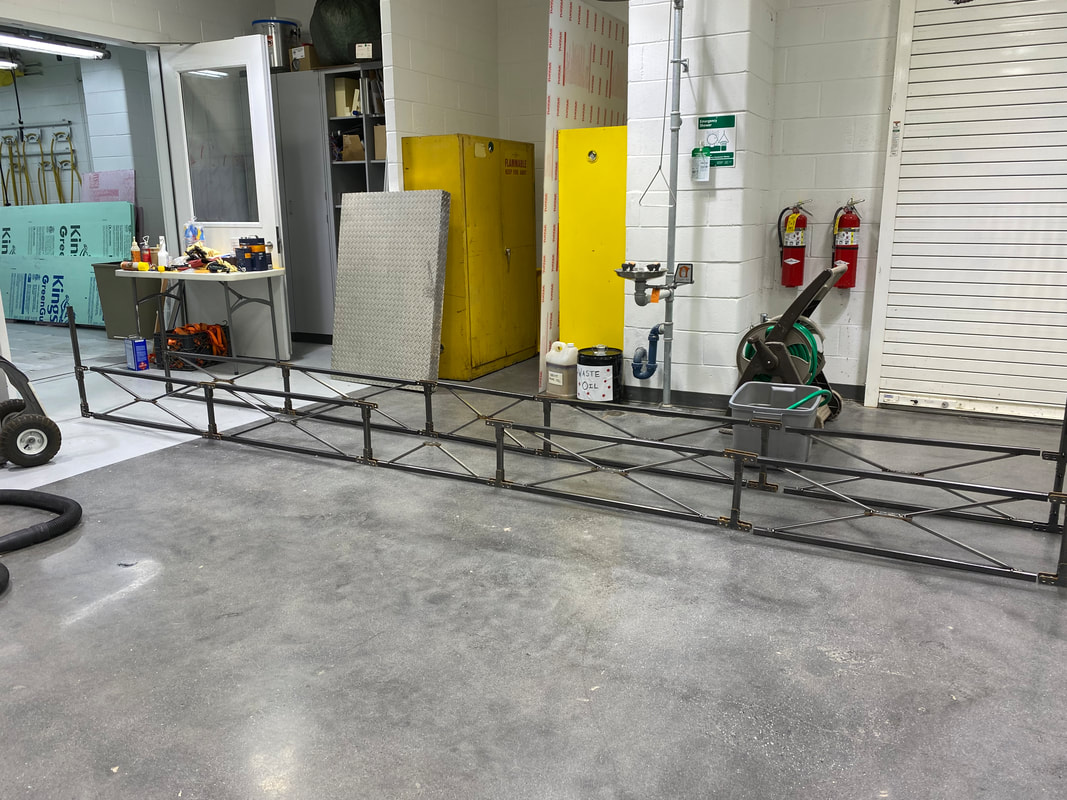
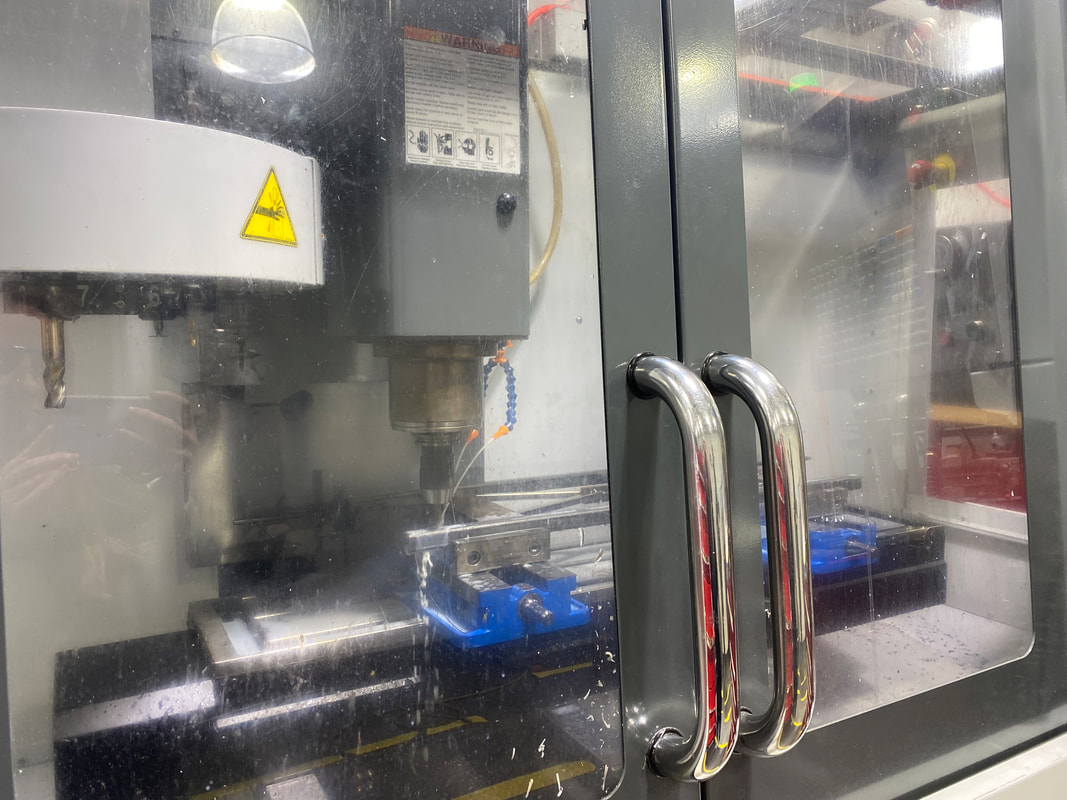
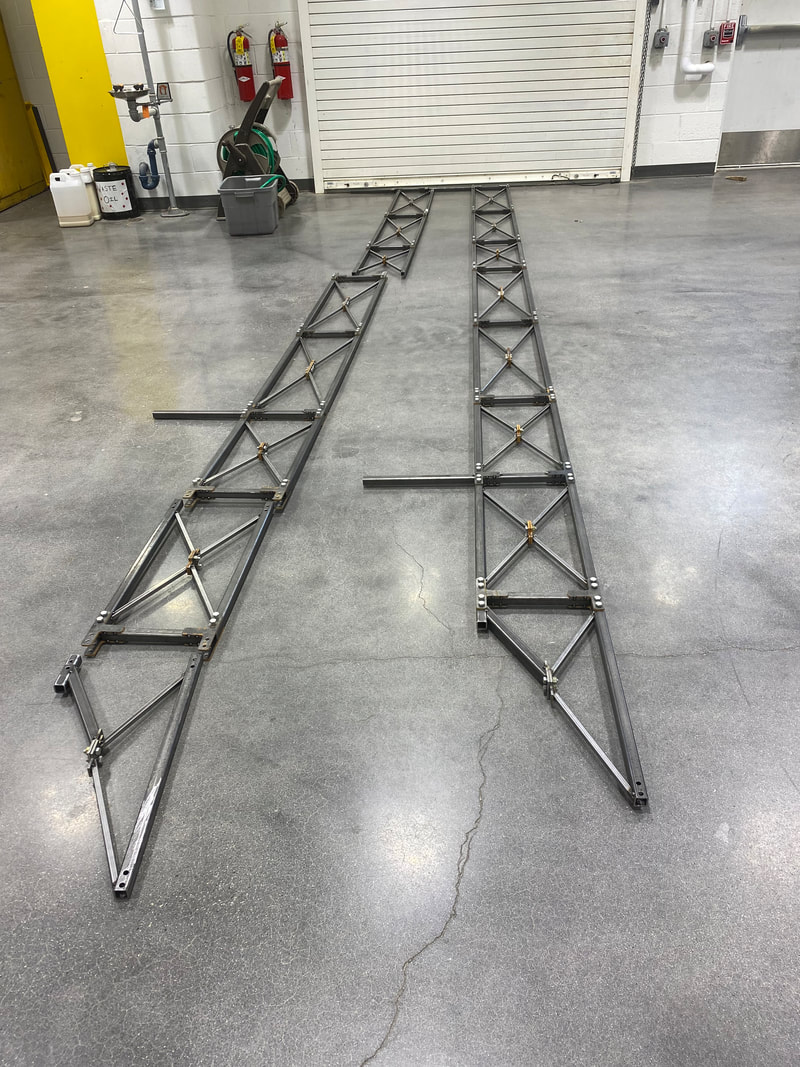
Bridge Update2/26/2022 During the second half of February the supports for the stringers were created. The lengths were cut and the angles were added. We found that there was error with the lengths because the 7.5 inch clearance was not being met. The team discussed a solution and we ended up trimming the length of the members to get the clearance instead of making smaller angles; the smaller the angles the harder to manufacture. The connection plates for these supports were cut with the waterjet machine. After all the pieces were to their correct dimensions, the supports and the footings including the stringer pieces were laid out. This made it easier for us to spot weld the plates in the correct position on the supports. All the plates for the supports were spot welded to the footings. The next big task was the lateral bracing. After a long discussion with team members and the machine shop advisor we came to our final design. This included two different types of sections; a 3 inch section for the west end and a 5 inch section for the cantilever end with four diagonals in between the horizontal members. This design had the best results for sway in visual analysis and the angles were manageable. The lateral bracings were all spot welded after a welding set up was made for each type. The lateral bracing was then cut with the band saw in order for us to connect a plate to all ends. This was decided to attach with ease to the vertical members of the stringers. The angles for the lateral bracing were all cut 1/4 inch with the milling machine and the bolt holes were drilled in them. The bridge is so close to assembly. After assembly of the whole bridge the full welds will be done and practice for competition will begin! Attached below is the engineering and fabrication drawings for this years steel bridge.
0 Comments
Back to Blog
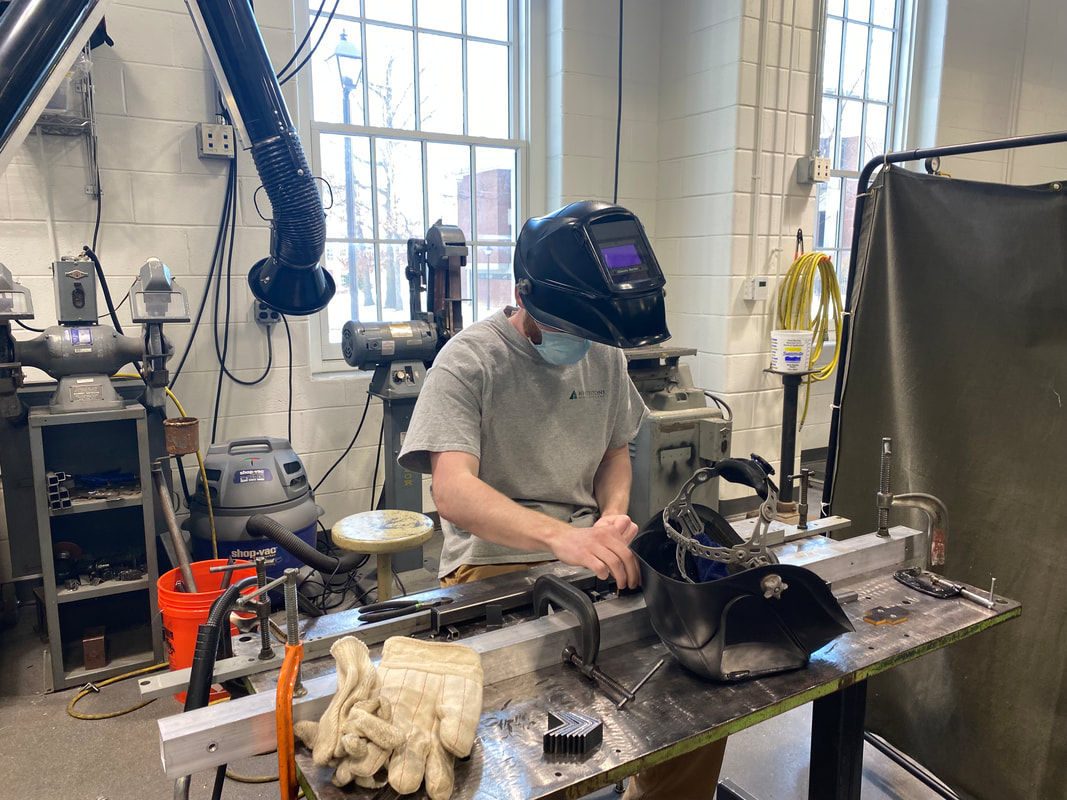
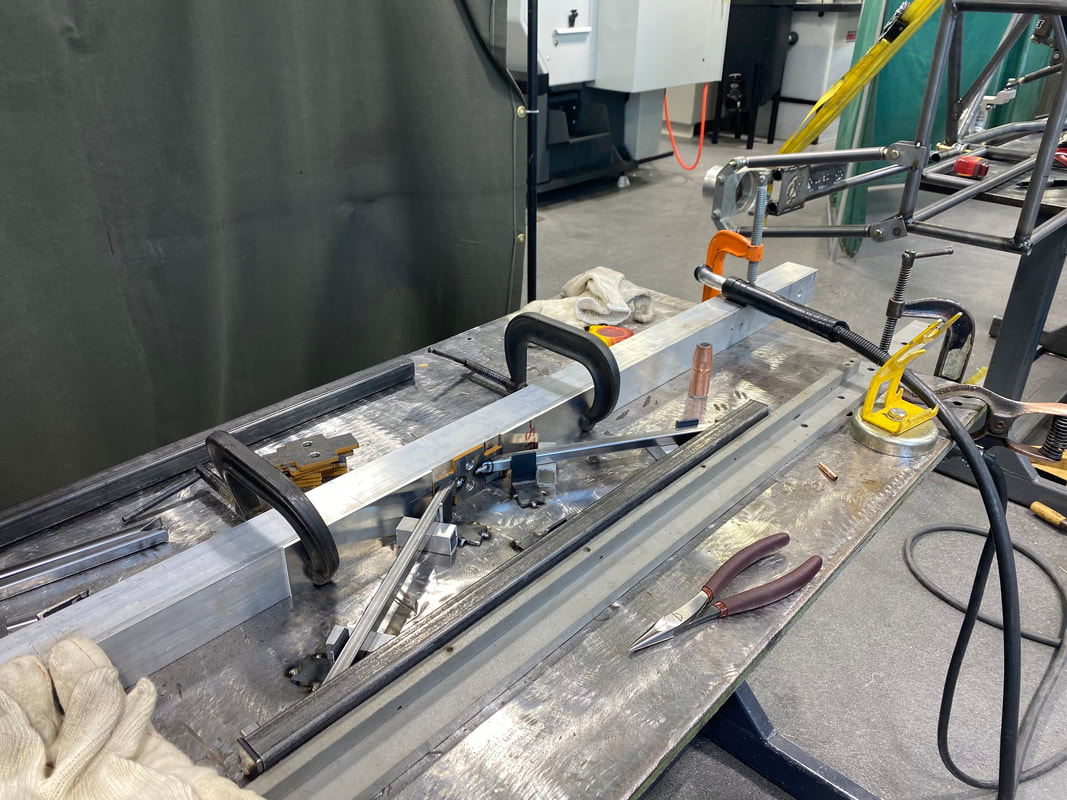
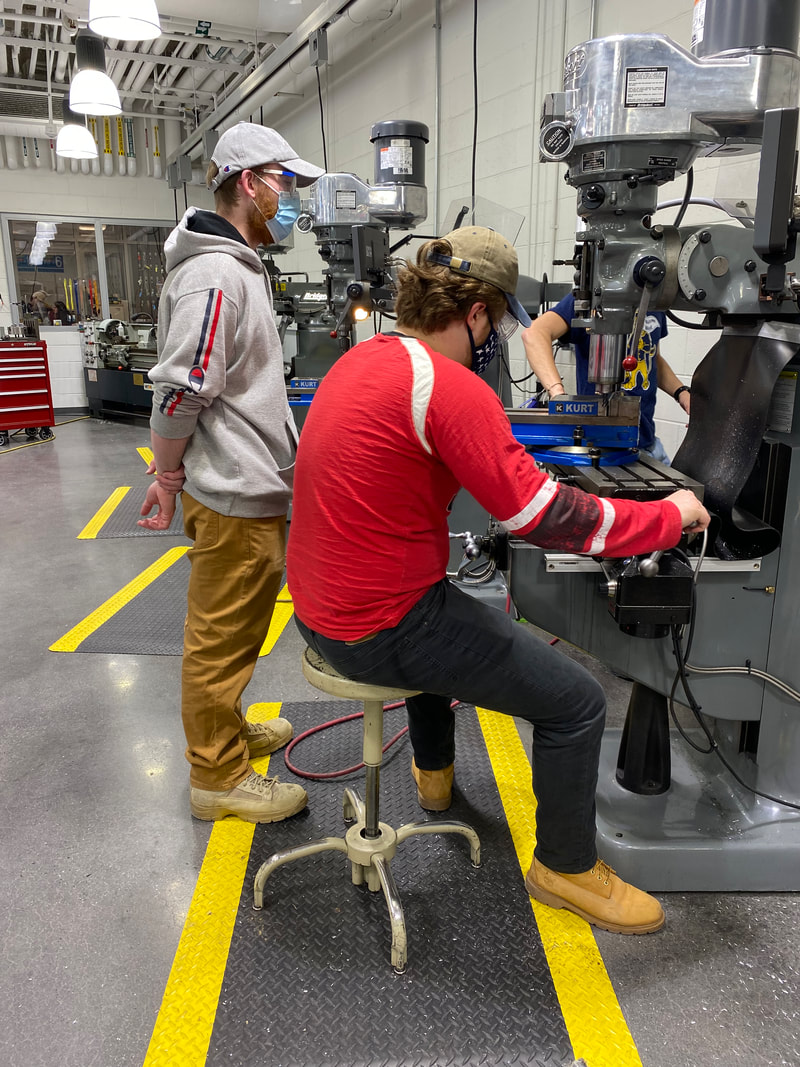
Building Progress2/15/2022 In the first couple weeks of February the stringers were spot welded. This was done by first creating a set up to hold all the pieces in place. A set up had to be created for the 2 foot and 3 foot sections. The cantilever end was designed; it had a one inch member on the bottom half and a 2 foot section on the top like the other stringer pieces. The one inch member was used for extra support. A connection plate was designed for this one inch member. The connected plate was water jetted and the piece was spot welded together. The stringers were laid out to see what parts still had to be done and to get an idea of how long the bridge would be. After all the stringer's top and bottom sections were spot welded the bolt holes had to be drilled. This was done with one of the machines with both top and bottom members connected. It allowed for precision and accuracy of the holes. This was set up for each section accordingly. After the bolt holes were drilled the holes were beveled and the members were checked to make sure they lined up with the vertical member's bolt holes. The stringers were then connected together to see if all parts fit together. Some of the plates were bent so they were corrected to fit with ease. We learned that the vertical members would have to be bolted together first and then the middle connections would be tightened after. The stringers appear to be strong and our advisors are excited to see the final product. |